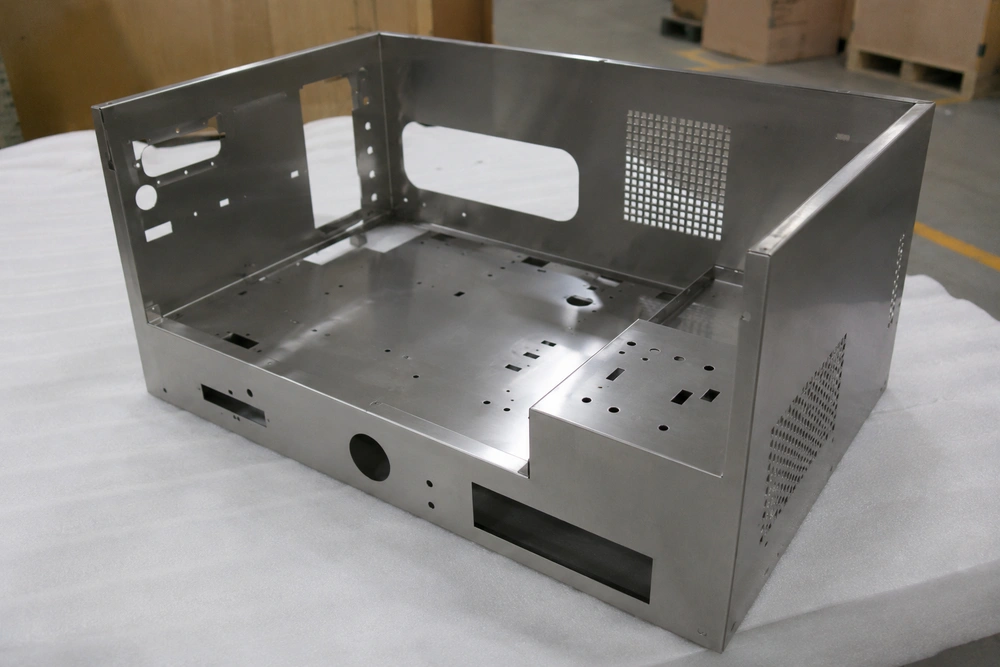

Hey there! As a supplier in the Aluminium Fabrication business, I've seen my fair share of challenges and triumphs when it comes to welding aluminium. It's a unique metal with its own set of quirks, but with the right know - how, you can achieve some really top - notch results. In this blog, I'm going to walk you through the ins and outs of welding aluminium in the fabrication process.
Understanding Aluminium
First things first, let's talk a bit about aluminium. It's a lightweight, corrosion - resistant metal that's widely used in various industries, from automotive to aerospace. But here's the catch: aluminium has a high thermal conductivity and a thin oxide layer on its surface. This oxide layer has a much higher melting point than the aluminium itself, and it can cause all sorts of problems during welding if not dealt with properly.
The high thermal conductivity means that heat spreads quickly through the metal. So, you need to be able to deliver a lot of heat in a short amount of time to get the aluminium to melt and fuse together. Otherwise, you might end up with a weak weld or even a cold lap, where the metal doesn't fully bond.
Pre - Welding Preparation
Before you even think about striking an arc, you've got to prep your aluminium. The first step is cleaning. You need to remove that pesky oxide layer and any dirt, grease, or oil from the surface. A simple way to do this is by using a stainless - steel wire brush. Make sure it's only used for aluminium to avoid cross - contamination. Start by brushing the area to be welded in one direction, and then wipe it down with a clean, lint - free cloth.
You can also use a chemical cleaner specifically designed for aluminium. Just follow the instructions on the product, and make sure to rinse it off thoroughly and dry the metal completely.
Next, you'll need to fit up your pieces properly. Aluminium can expand and contract a lot during the welding process, so you want to make sure your joints are tight and aligned. Use clamps or fixtures to hold the pieces in place. If you're welding a long joint, tack welds can be a great way to keep everything in position before making the final weld.
Choosing the Right Welding Process
There are a few different welding processes you can use for aluminium, but the two most common ones are Gas Tungsten Arc Welding (GTAW), also known as TIG welding, and Gas Metal Arc Welding (GMAW), or MIG welding.
TIG Welding
TIG welding is a great choice for aluminium because it gives you a lot of control over the heat input. You use a non - consumable tungsten electrode to create the arc, and you add filler metal manually. This process is ideal for thin aluminium sheets and for making precise, high - quality welds.
One of the advantages of TIG welding is that you can use a foot pedal to control the amperage, which allows you to adjust the heat as you go. This is really useful when you're dealing with different thicknesses of aluminium or when you need to make a weld in a tricky spot.
However, TIG welding is also a bit more difficult to learn and is slower than MIG welding. You need to have a steady hand and good coordination to feed the filler metal and control the arc at the same time.
MIG Welding
MIG welding, on the other hand, is faster and easier to learn. With MIG welding, the filler metal is fed through a welding gun automatically, which makes it a great option for larger projects or for welding thicker aluminium.
But MIG welding can be a bit more challenging when it comes to aluminium because of the oxide layer. You need to use a special shielding gas, usually a mixture of argon and helium, to protect the weld from oxidation. And you also need to make sure your wire feeder is set up correctly to prevent the wire from getting jammed.
Setting Up Your Welding Equipment
Once you've chosen your welding process, it's time to set up your equipment. If you're using TIG welding, you'll need a TIG welder, a tungsten electrode, a shielding gas (usually pure argon), and filler metal. Make sure to choose the right size and type of tungsten electrode for your application. For aluminium, a pure tungsten or a thoriated tungsten electrode is often a good choice.
If you're going with MIG welding, you'll need a MIG welder, a spool of aluminium filler wire, and the appropriate shielding gas. You'll also need to adjust the wire feed speed and the voltage on your welder. This can take a bit of trial and error, but you can usually find some general guidelines in the welder's manual.
Welding Techniques
When you're actually welding the aluminium, there are a few techniques you should keep in mind.


TIG Welding Techniques
With TIG welding, you want to keep the arc short and the electrode at a consistent angle. A good starting angle is around 70 - 80 degrees from the workpiece. You should also move the torch in a smooth, steady motion, and feed the filler metal into the leading edge of the weld pool.
If you're welding a corner joint, for example, you might want to use a weaving motion to ensure that the weld penetrates evenly into the joint. And make sure to take your time and let the weld cool down between passes if you're making multiple passes.
MIG Welding Techniques
For MIG welding, you'll want to hold the welding gun at a 10 - 15 degree angle from the workpiece. Keep the gun moving in a straight line or in a slight zig - zag motion, depending on the joint you're welding.
It's important to maintain a consistent travel speed. If you go too fast, the weld might not penetrate properly, and if you go too slow, you might end up with excessive heat and distortion.
Post - Welding Inspection and Finishing
After you've finished welding, it's crucial to inspect your welds. Look for any signs of cracks, porosity, or lack of fusion. You can use a magnifying glass or a dye penetrant test to check for small defects.
If you find any issues, you might need to re - weld the area. But make sure to clean the area thoroughly again before you start welding.
Once you're satisfied with the quality of your welds, you can move on to finishing. You might want to grind or sand the welds to smooth them out and make them look more aesthetically pleasing. And if you're planning to powder coat or anodize the aluminium, you'll need to make sure the surface is clean and free of any contaminants.
Where to Go from Here
If you're interested in customized aluminium fabrication works, we've got some great options for you. Check out our Customized Powder Coating Aluminum Fabrication Works for Machine Box and Custom Aluminium Box OEM Aluminum Fabricated Products. And if you're specifically looking for custom welding of anodized aluminium for electrical equipment, head over to Custom Welding Anodized Aluminum for Electrical Equipment.
If you have any questions or are ready to start a project, don't hesitate to reach out. We're here to help you with all your aluminium fabrication needs, from welding to finishing. Let's work together to create some amazing aluminium products!
References
- American Welding Society. (2023). Welding Handbook: Volume 2 - Welding Processes.
- AWS D1.2/D1.2M:2020 Standard for Aluminum Structural Welding Code.
- Miller Electric Mfg. Co. (2022). Aluminum Welding Guide.